Combat System Guide
Turn-Based Tactical Combat
Overview
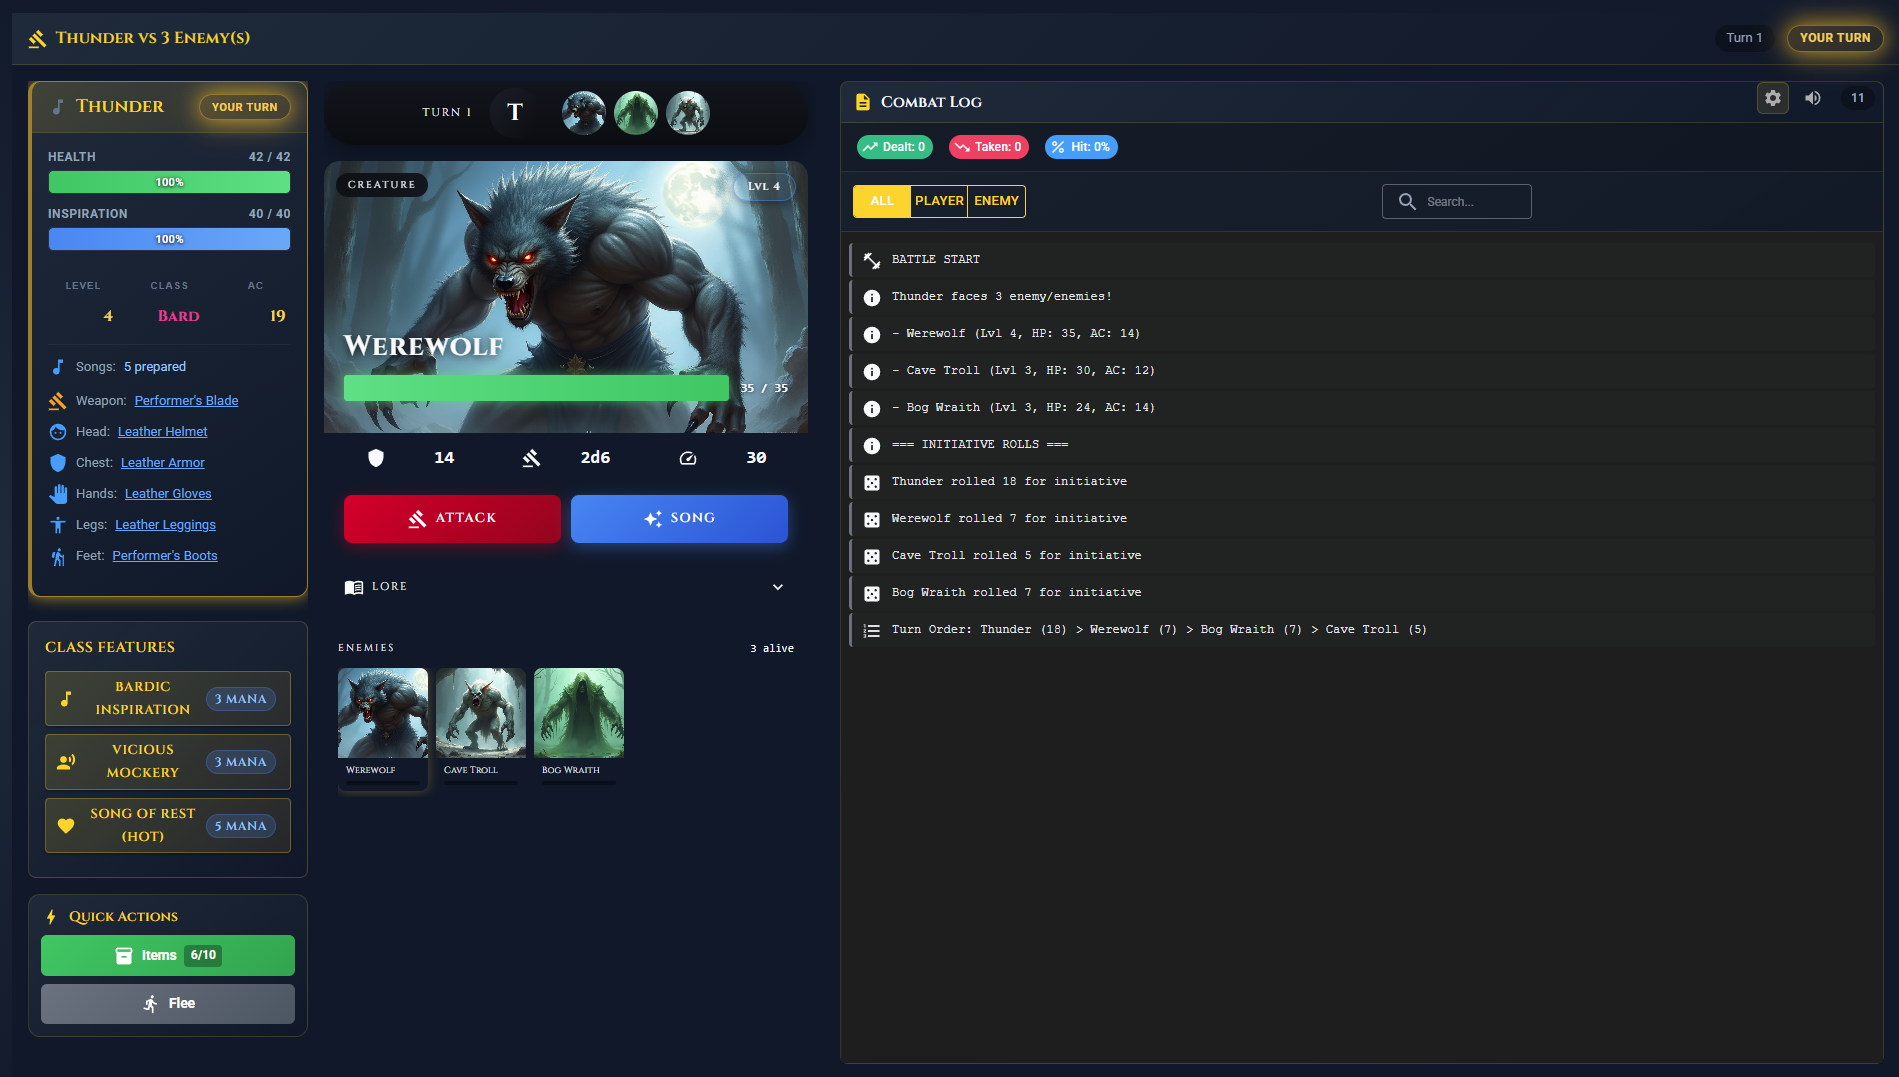
Lourdin RPG combat is turn-based and D&D 5e-inspired. Each round begins with an initiative roll (1d20 + DEX modifier) to set turn order. On your turn, move freely to any reachable hex and choose one action: Attack (1d20 + bonus vs. enemy AC), Cast Spell, Use Item, activate a Class Feature, or Flee. All dice rolls are shown transparently in the combat log — no hidden RNG.
Lourdin RPG features a complete D&D 5e-inspired turn-based combat system with hex-grid free movement, three terrain zones, initiative rolls, attack and spell mechanics, monster archetypes, and class-specific abilities. Every roll is shown transparently in the combat log — no hidden RNG, no auto-wins. Pure strategy.
Whether facing monsters alone or adventuring with a party, understanding the full combat system is the key to survival and victory.
How Does Turn Order Work in Lourdin RPG?
Combat begins with an initiative roll that determines who acts first each round:
Initiative Roll Formula
1d20 + Dexterity ModifierExample Initiative Round:
- Thunder (Bard): DEX 16 (+3) — rolls 1d20(14) + 3 = 17
- Vampire Spawn: DEX 16 (+3) — rolls 1d20(15) + 3 = 18
- Grave Warden: DEX 12 (+1) — rolls 1d20(10) + 1 = 11
Turn Order: Vampire Spawn (18) → Thunder (17) → Grave Warden (11)
Turn Structure
Each combatant acts once per round in initiative order:
- Turn Start: Process status effects (DoT damage, HoT healing, crowd control)
- Action Phase: Choose and execute your action
- Turn End: Decrement effect durations and ability cooldowns
How Does Hex Movement Work in Lourdin RPG?
Combat takes place on a hex grid battlefield. On your turn, highlighted blue hexes show every tile you can reach within your class's movement range — click any one to move there instantly. Movement is a free action that does not consume your main action, so you can reposition and then attack in the same turn.
Movement Ranges by Class
- 7 hexes: Barbarian, Rogue, Ranger, Monk — fastest classes, highly mobile
- 6 hexes: Warrior, Paladin, Pirate — solid mobility in medium/heavy armor
- 5 hexes: Wizard, Cleric, Bard — slowest; protect them with frontline allies
Zone Terrain Bonuses
The board is divided into three named zones that grant combat modifier bonuses based on which tiles you stand on. Zones are terrain overlays — you gain their bonuses simply by being on those hexes.
Warrior, Paladin, Barbarian, Pirate
Frontline hexes — melee attack bonuses. Warriors in the Vanguard activate Hold the Line to protect allies.
Ranger, Rogue, Monk
Side-lane hexes connecting front and rear. Useful for repositioning and bypassing congested frontlines.
Wizard, Cleric, Bard
Back-line hexes — spells reach any hex on the board; bows cover most of it from here.
Melee Range
To make a melee attack, you must be on a hex directly adjacent to your target (hex distance 1). The UI highlights valid melee targets automatically once you are in range. If a target is highlighted for melee, move to an adjacent hex first, then attack.
Combat Mechanics
- Hold the Line (Warrior Passive): A Warrior in the Vanguard zone protects the Rear Guard from direct attacks. Keeping a Warrior at the front remains essential in solo and party play.
- Spell Targeting: Spells can target any enemy on the board regardless of the caster's hex position — distance does not limit spell range.
- Ranged Weapon Range: Ranged weapons have a maximum hex distance by weapon type — Bow 17 hexes, Crossbow 12, Pistol 8. Rangers add +3 hexes to any ranged weapon.
- Skirmisher Breakthrough: Monster Skirmisher archetypes move quickly (7 hexes/turn) and may close the distance to your backline before you can react — watch their position in the initiative order.
- Enemy Blocking: You cannot move through or onto a hex occupied by an enemy — plan your path accordingly.
Movement Strategy Tips
- Move your melee characters adjacent to the highest-priority enemy before attacking
- Keep spellcasters and healers on back-line hexes — their spells reach anywhere
- Use the Flank zone to move around enemies and reach vulnerable targets
- In parties, coordinate who occupies the Vanguard hexes to keep Hold the Line active
- Barbarians (7 hexes/turn) and Pirates (6 hexes/turn) can reach the frontline on turn 1 and absorb pressure
What Actions Can You Take Each Turn?
On your turn, choose one of the following actions:
1. Attack
- Attack Roll: 1d20 + Attack Bonus vs. Enemy AC
- Damage: Weapon damage dice + Strength or Dexterity modifier
- Critical Hit (Natural 20): Automatic hit — damage dice are doubled
- Critical Miss (Natural 1): Automatic miss regardless of bonuses
2. Cast Spell
Available to: Wizard, Paladin, Bard, Cleric (plus limited class features for others)
- Spell Attack: 1d20 + Spell Attack Bonus vs. Enemy AC
- Saving Throws: Some spells force the enemy to roll — failure means full damage or effect
- Mana Cost: Each spell consumes mana from your pool
- Cooldowns: Powerful spells have cooldowns measured in turns
3. Use Item
- Health Potions: Restore HP instantly — available to all classes
- Mana Potions: Restore mana mid-combat (spellcasters only)
- Buff Elixirs: Temporary stat boosts lasting several turns
- Scrolls: Single-use spells with no mana cost
4. Class Features
- Warrior: Battle Cry (bonus action, +2 attack/damage for 2 turns), Power Strike (3-turn CD, 2x damage), Second Wind (once per combat self-heal)
- Paladin: Divine Smite (burst radiant damage, 3-turn CD), Lay on Hands (self-heal), Shield of Faith (+2 AC)
- Barbarian: Rage (damage boost + 50% damage reduction)
- Ranger: Hunter's Mark (bonus damage on marked target)
- Bard: Bardic Inspiration (ally attack bonus), Vicious Mockery (psychic damage + enemy attack penalty)
- Pirate: Swig of Rum (bonus action heal/buff), Cutlass Flurry (Swagger combo attack), Riposte (counter after being hit), Boarding Action (powerful finisher)
- Monk: Stunning Strike (skip enemy turn), Flurry of Blows (extra unarmed strike)
5. Flee
- Lose 10% of current copper
- No XP or loot gained from the encounter
- HP and mana restored fully after escaping
How Do Attack Rolls and Damage Work?
Attack Roll
1d20 + Attack Bonus vs. Target ACAttack Bonus Components:
- Base Stat Modifier (Strength for melee, Dexterity for finesse/ranged)
- Equipment Bonuses (+1 / +2 / +3 from enchanted weapons)
- Status Effect Bonuses (Bardic Inspiration, Bless, etc.)
- Proficiency Bonus (auto-added for weapons your class is proficient with)
Armor Class (AC) Formula
AC = 10 + Chest Armor bonus + DEX modifier (capped by armor type) + BuffsArmor Type DEX Cap:
- Light Armor: Full DEX bonus (no cap) — Wizard, Rogue, Monk, Bard
- Medium Armor: DEX bonus capped at +2 — Ranger, Cleric, Barbarian, Pirate
- Heavy Armor: No DEX bonus (+0) — Warrior, Paladin
Special AC Bonuses:
- Monk Unarmored Defense: AC = 10 + DEX + WIS (no chest armor equipped)
- Barbarian Unarmored Defense: AC = 10 + DEX + CON (no chest armor equipped)
- Paladin Aura (Level 6+): +CHA modifier to all party AC
Damage Calculation
Damage Roll
Weapon Damage Dice + Stat Modifier + Equipment BonusesDamage Types
- Physical: Slashing, Piercing, Bludgeoning
- Elemental: Fire, Cold, Lightning, Thunder
- Magical: Force, Radiant, Necrotic, Psychic
- Special: Acid, Poison
Damage Modifiers
- Resistance: Monster takes half damage from that type
- Immunity: Monster takes no damage from that type
- Vulnerability: Monster takes double damage from that type
Critical Hits
Rolling a Natural 20
Critical Damage = (Weapon Dice x2) + Stat Modifier + BonusesExample: Longsword normally deals 1d8 + 3. Critical hit deals 2d8 + 3.
Class Critical Bonuses
- Rogue: Sneak Attack bonus dice are also doubled on crits
- Barbarian: Brutal Critical adds one extra damage die on crits
- Paladin: Divine Smite bonus dice are doubled when triggered on a crit
Status Effects
Buffs (Positive Effects)
- Attack Bonus: +X to attack rolls (Bardic Inspiration, Battle Cry)
- Damage Bonus: +X per attack (Hunter's Mark, Rage)
- Healing over Time (HoT): Restore HP each turn for X turns
- Damage Reduction: Take less incoming damage (Rage — 50% reduction)
- AC Bonus: Harder to hit (Shield of Faith, Shield spell)
Debuffs (Negative Effects)
- Attack Penalty: -X to attack rolls (Vicious Mockery)
- Damage over Time (DoT): Lose HP each turn (Burning, Poison)
- Stunned: Skip next turn entirely (Stunning Strike)
- Blinded: Disadvantage on attacks (various sources)
- Poisoned: Disadvantage on attack rolls
Effect Duration
Most effects last 3–5 turns. All active effects and their remaining duration are displayed in the combat interface and the combat log.
Monster Archetypes
Every monster in Lourdin has an archetype that governs its combat AI — how often it casts spells, which zone it targets, and what tactics it prefers. Recognizing the archetype lets you counter it effectively.
| Archetype | Spell Chance | Preferred Zone | Strategy & Behavior |
|---|---|---|---|
| Brute | ~10% | Vanguard | Pure melee power — high damage, moderate defense. Rarely casts spells. Focus it down quickly. |
| Caster | ~80% | Rear Guard | Heavy spellcasting. Fragile but devastating. Prioritize eliminating Casters before they cast AoE spells. |
| Skirmisher | ~30% | Flank | Fast and mobile (7 hexes/turn). Can close the distance to your backline quickly. Keep a Warrior at the front with Hold the Line active. |
| Tank | ~5% | Vanguard | High HP and defense. Rarely casts spells. Use elemental spells to bypass physical resistance. |
| Support | ~60% | Rear Guard | Heals and buffs allied monsters. Eliminate Support monsters first in multi-enemy encounters. |
Archetype Counter-Strategies
- vs. Brute: Stack AC buffs, use crowd control spells to reduce their attacks
- vs. Caster: Focus fire immediately — kill before they cast Fireball or AoE spells
- vs. Skirmisher: Keep a Warrior in Vanguard; Hold the Line prevents most breakthroughs
- vs. Tank: Use AoE spells (Fire, Lightning) that may exploit elemental vulnerabilities
- vs. Support: Always kill Support first — preventing heals is worth more than extra DPS
Combat Modes
Solo Combat (1 vs. Many)
- Full control over your character's every action
- Strategic use of items and cooldown rotation
- Flee option available if overwhelmed
- All XP, copper, and loot go to you alone
Party Combat (Multiplayer)
- Real-time cooperative play via SignalR — all players in the same session
- Coordinate class abilities across turns (Bard buffs before Wizard AoE)
- Shared XP and fair loot distribution
- Class synergies unlock: Warrior tanks, Cleric heals, Bard buffs, Wizard destroys
Combat Strategy Guide
Universal Tips
- Read the combat log: Every dice roll is shown — use this information to predict what the enemy will do next
- Identify archetypes early: Casters and Supports should always be primary targets
- Manage resources: Don't burn all mana and cooldowns on the first enemy wave
- Positioning: Keep your highest-AC fighter on Vanguard hexes; spellcasters stay on Rear hexes where they are safest
- Status effects matter: A well-timed stun or blind can prevent massive incoming damage
Class Combat Strategies
- Warrior: Use Battle Cry on turn 1, then sustain with Power Strike on cooldown. Pop Second Wind when below 30% HP.
- Wizard: Save Fireball for groups of 3+ enemies. Use Shield as a reaction to survive spikes.
- Rogue: Always focus the same target with all attacks to trigger and stack Sneak Attack damage.
- Cleric: Open with Bless on your party, then alternate between Sacred Flame and healing as needed.
- Paladin: Save Divine Smite for when you land a critical hit — double the smite dice for massive burst.
- Bard: Turn 1: Bardic Inspiration on your biggest damage dealer. Turn 2+: Vicious Mockery on the strongest enemy.
- Barbarian: Rage immediately — the 50% damage reduction makes your early turns significantly safer.
- Pirate: Build Swagger stacks with 2–3 attacks, then unleash Cutlass Flurry for maximum combo damage.
Related Guides
Ready to Master Combat?
Create your character and put these tactics to the test in battle!